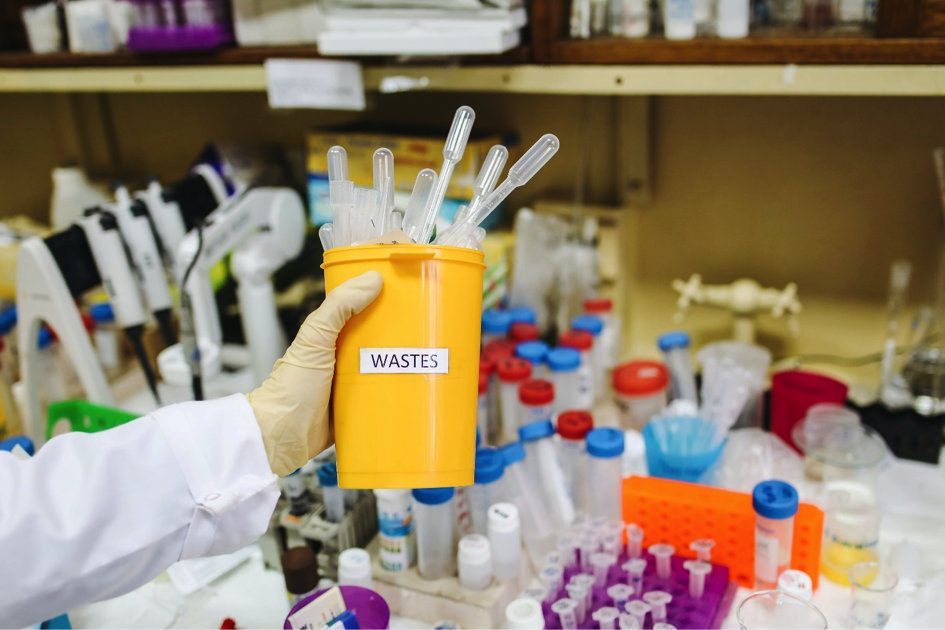
Having an effective and safe medical waste disposal process is of the utmost importance within the healthcare industry. Improper practices can be of great danger to the health of patients and staff, the environment, not to mention your financial stability: heavy fines are in order if you don’t meet the current regulations that are valid for your region.
Autoclave manufacturers like the Celitron medical waste disposal company have a lot of written guides concerning waste management, not to mention options that facilitate the on-site treatment of waste (as opposed to traditional off-site methods). Regardless of the method of waste disposal, you choose to incorporate in your medical waste management system, safety should always be your priority.
Here’s how a basic medical waste disposal process can be described in a nutshell:
The 1st step of the medical waste disposal process: have your containers ready
No medical waste management process can work if there isn’t a system in place to collect and segregate the waste at the facility in question. Before disposal can take place, you will need dedicated containers to store all potentially infectious and hazardous waste. To help identify and separate the different categories of biomedical waste, these containers are usually color-coded (although the coloring system may be different in some regions).
Regardless of the color in use, these are the categories of medical waste that need to be collected separately before disposal can occur:
- Yellow: Pathological, clinical, pharmaceutical, and other infectious medical waste. Liquid chemical waste may need to be stored in separate containers.
- Red with a biohazard symbol: Sharps waste (regardless of the color, these containers need to be puncture-proof).
- White: Metallic objects.
- Blue:
- Purple: Hazardous medical waste (e.g. cytotoxic products).
- Black: Regular municipal waste.
NEVER overfill containers. Under NO circumstance should you force medical waste inside a container. Medical waste containers are ready for disposal when they are at around 75% capacity.
The 2nd step of the medical waste disposal process: prepare a storage area
Storage is also an essential part of the medical waste management process. In the case of off-site disposal methods, the waste will only be treated when it is transported away, and therefore still represents a risk of infection while it is present at the site of the clinic or hospital in question.
For this reason, the storage area where the containers need to be until transportation can take place needs to be far from all other populated areas, and especially from cafeterias, break rooms, or any other place where staff and patients consume food and beverages. Always wear appropriate protective equipment when handling medical waste containers.
The 3rd step of the medical waste disposal process: treat the waste off-site or on-site
Of course, the endgame of the medical waste management process is to dispose of the waste and reduce the risks of infections spreading.
This can either be done off-site with the help of waste removal companies, but on-site treatment methods are becoming more and more popular, as they are usually more practical, sustainable, and cost-effective in the long run. Autoclaves can sterilize the waste on-site and even enable certain medical tools to be used again for the treatment of patients, and medical waste shredders are perfect to render hazardous medical waste sharps into an unrecognizable state, so that disposal may occur without any risk of infection.


